


I’ve been eating Lunchables pizza since they first came out in 1996 (back when I was in middle school). Lunchables Pizza was a game changer when they first arrived on the market. Until then, I believe the only Lunchables variety available were the cracker stackers (Turkey, Ham and Bologna…). Today, we even have grown up Lunchables and tons of strange varieties (including tacos and chicken nuggets).
I’m pretty sure I enjoyed my first few Lunchables Pizzas cold, as they were meant to be enjoyed by the folks at Oscar Mayer. It wasn’t long before I tried microwaving them to melt the cheese and have three hot little pizzas. The internet may think Kylie Jenner made that up, I’ve been doing it since the mid-90s, and she was born in 1997.
The real game changer was when I started baking my Lunchables Pizza in the toaster oven. Nuking them was fine for some little hot pies, but the toaster oven added a bit of a crispiness to the crust. It made the cheese meltier and everything just taste better overall. The toaster oven is better for any frozen “microwave” treats (things like Bagel Bites, Pizza Rolls, Hot Pockets…)
Now, I continue to eat plenty of Lunchables today as a grown up (mainly to try and win a second Nintendo Switch so I can play Splatoon 2 with my wonderful girlfriend, but also way before this contest came around). Back in the normal times, it was a good idea to have some Lunchables in the fridge for when I would come home hungry and need a late night snack. Lunchables Pizza is always quick, easy and delicious.
I will never be too old for Lunchables, and maybe that’s because the way I enjoy them continues to evolve. The point of me writing this was to teach you one thing and one thing only. It’s fine to eat Lunchables (of any kind) as an adult. And here’s how you can take your Lunchables Pizza game from “OK” to “Gourmet!”
STEP ONE: OUTSIDE HELP
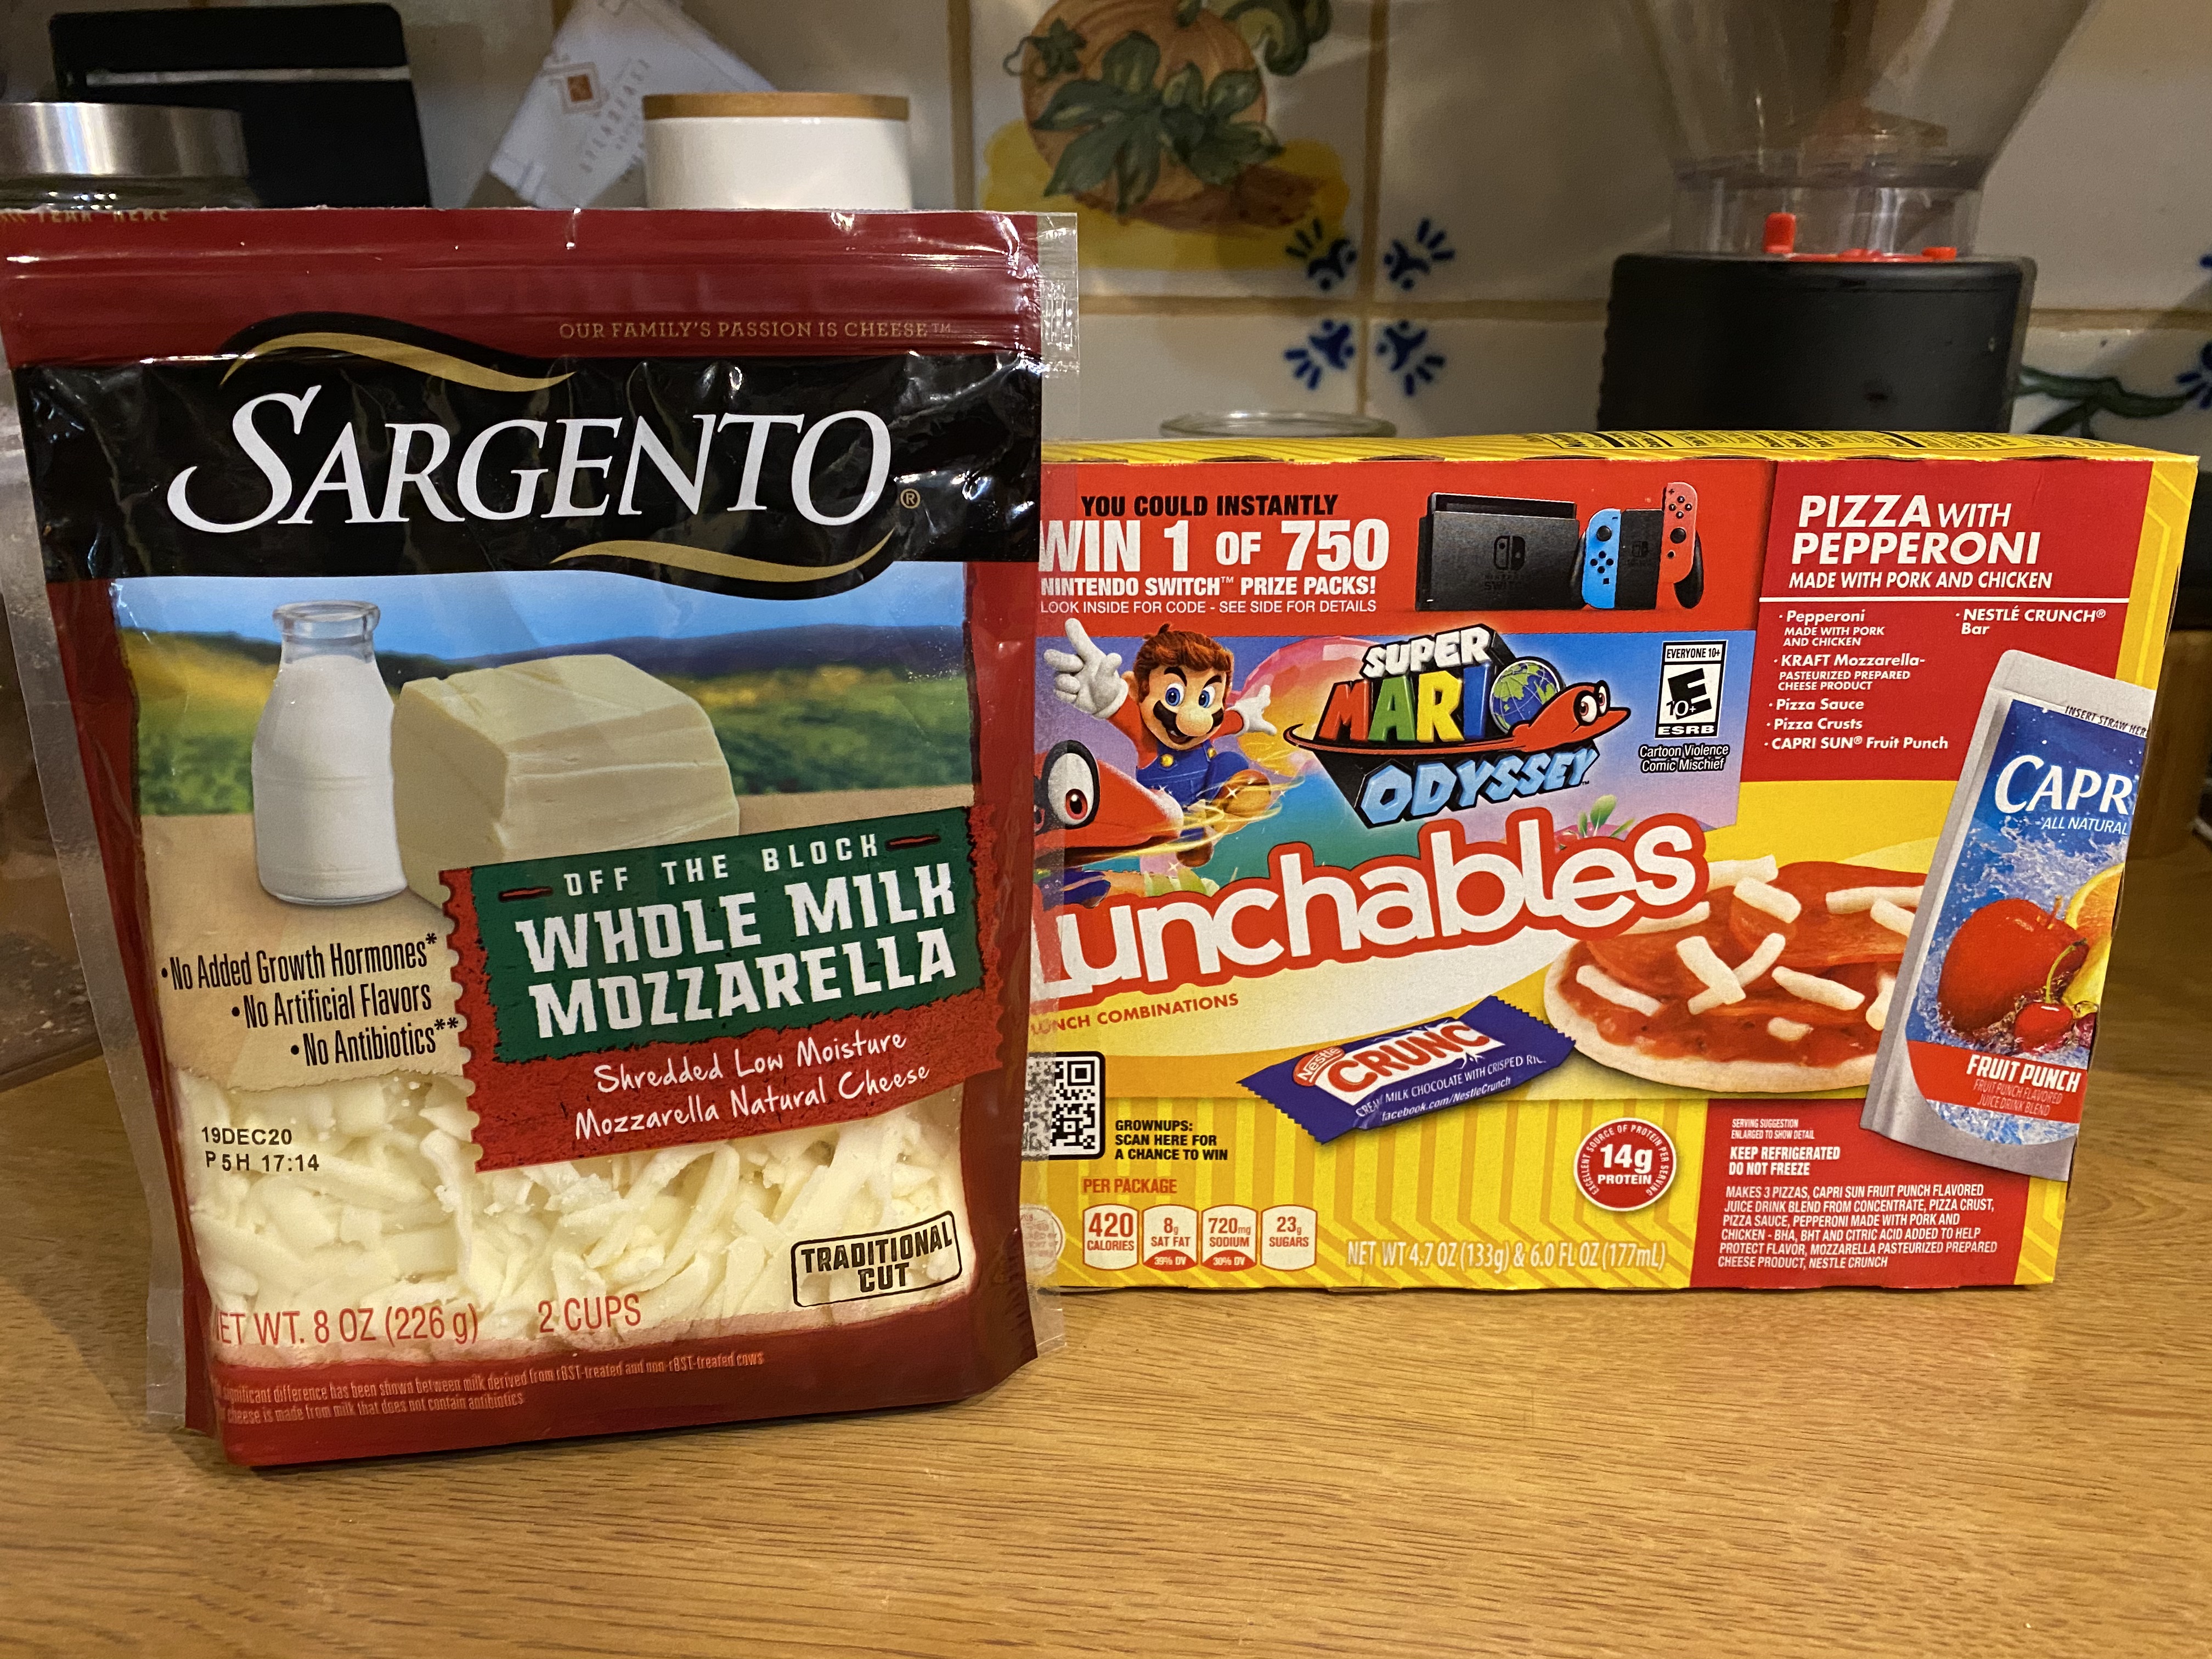
First, we’re going to need to outsource some cheese. And I’m going to help you find the best cheese. Lunchables pizza cheese is ok, but it doesn’t melt quite right (especially in the toaster oven). Don’t toss it though, it’s still going to come in handy.
I like to recruit some Sargento, Kraft or maybe even some fancy Mozzarella di Bufula (I haven’t tried out that last one yet, but I’m excited to now). Sargento makes some real thick shredded cheeses and the mozzarella version is the best for any homemade pizza. So, that’s what I’ve currently been using.
STEP TWO: THE BUILD
This step is very simple, because the ingredients are all ready to go by now. All you have to do to build the ultimate Lunchables mini pizzas is:
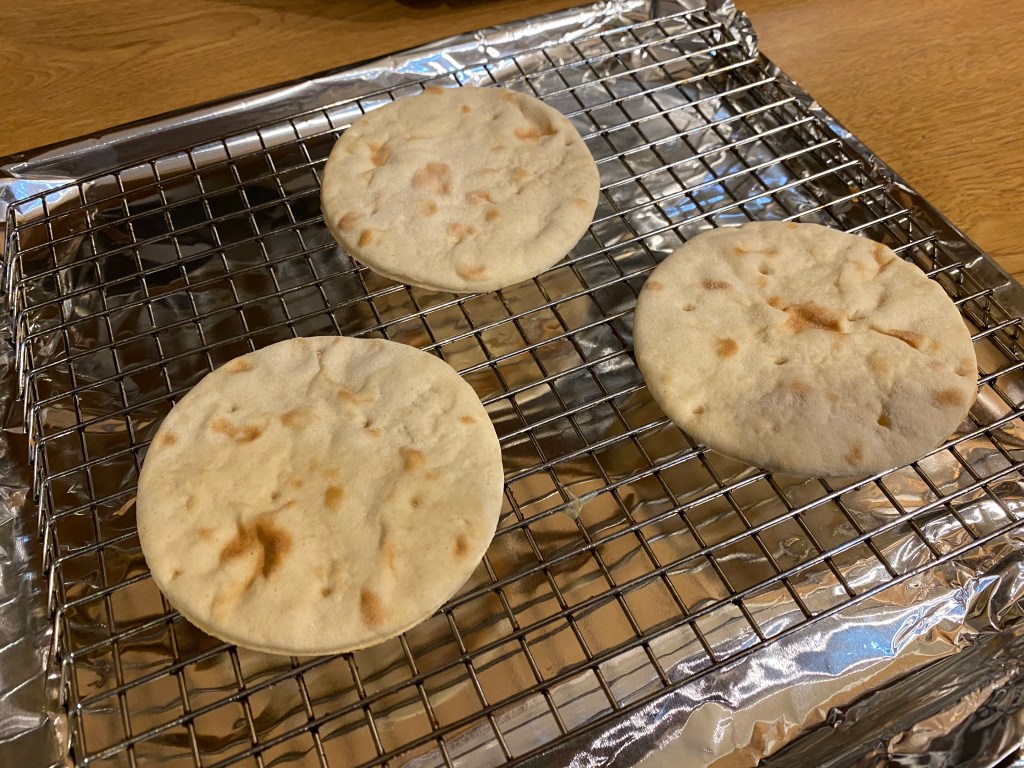
(1) Lay down the crusts. If you have a little toaster oven rack it’s nice to raise your crusts off of the pan. If not you can even try putting them straight on the toaster oven rack, although that can lead to a big mess. So, if you don’t have the rack that’s fine, a pan will do.
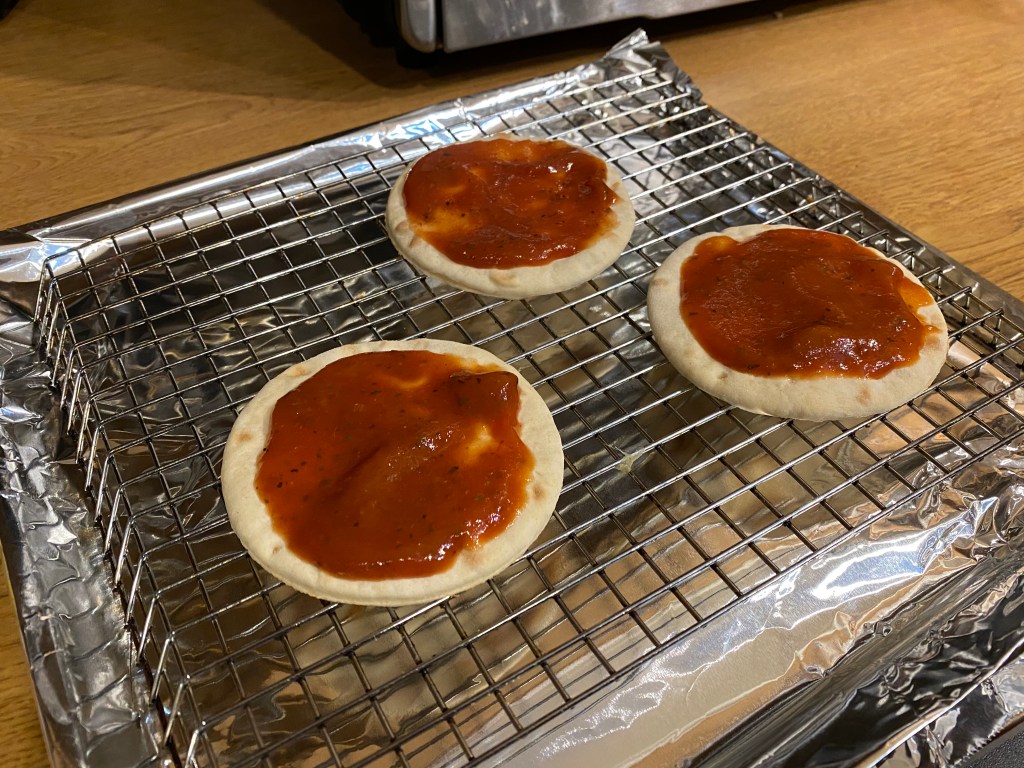
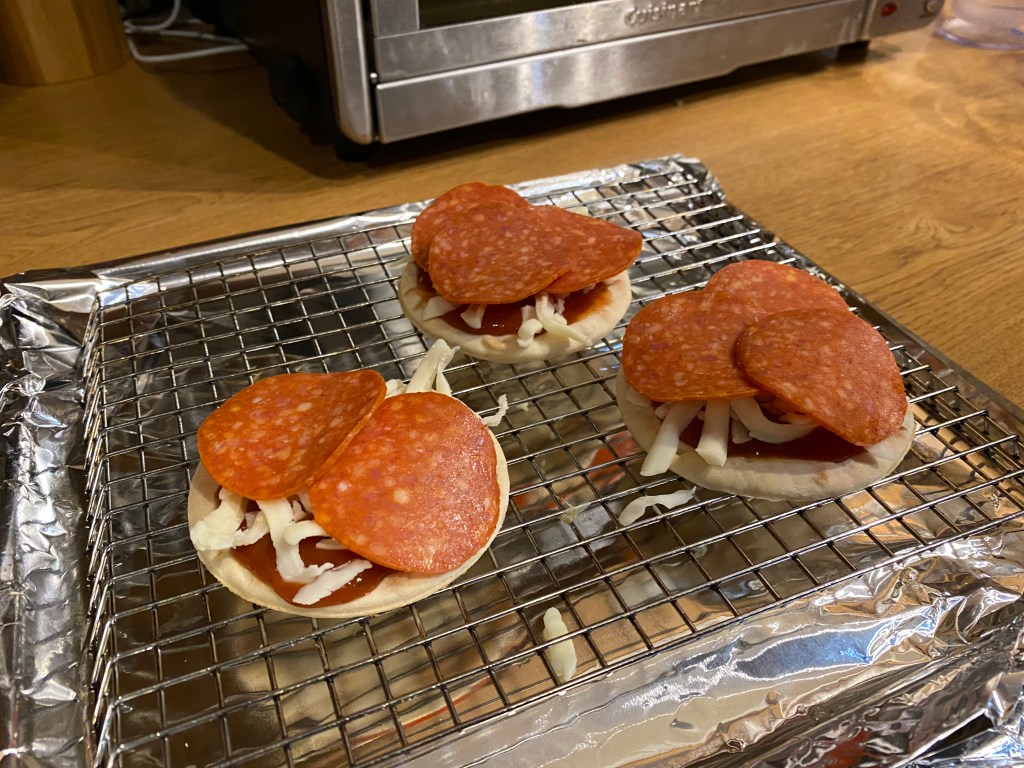
(2) Slather on that tomato sauce. The sauce packet used to come with a tiny spoon or a little spreader, but I guess times are tough for the Oscar Mayer corporation and they had to stop giving those out. Or, perhaps they are more worried about the environment and didn’t want to supply more plastic for ruining our planet. Thanks for caring, Oscar!
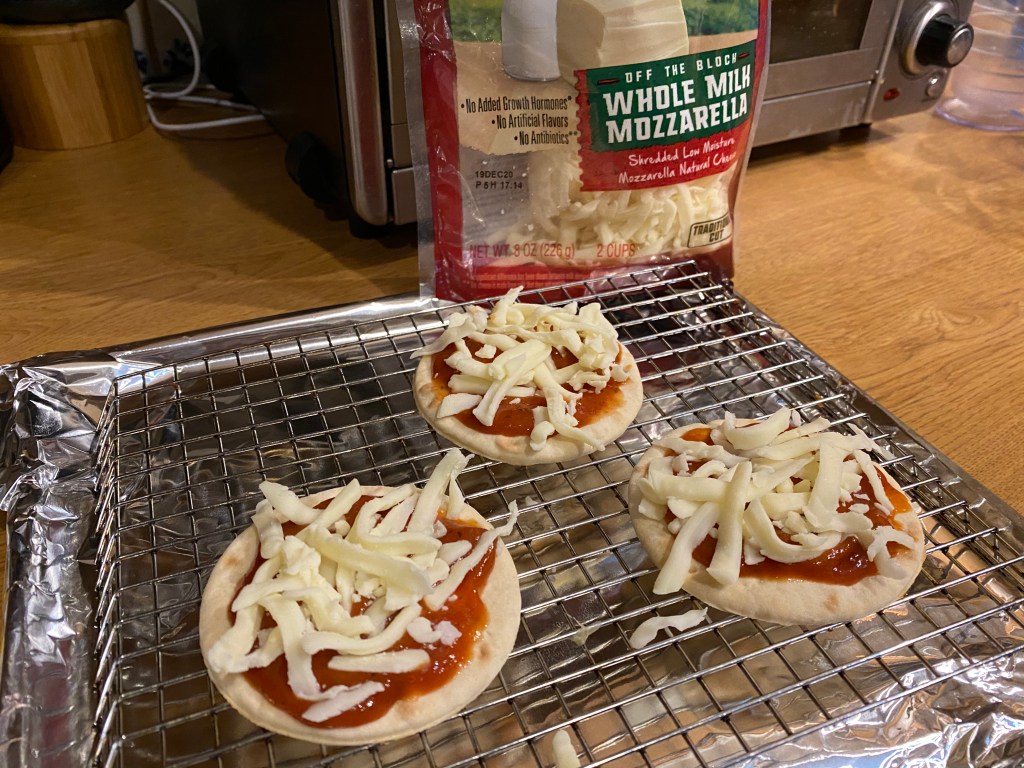
(3) Drop a layer of your “fancy” cheese (the Sargento, Kraft, Bufula or whatever you’ve found). This is the part where you get to gourmet it up with the good stuff. As I said before I have not tried using the super fancy Mozzarella di Bufula, but one day I will and I bet it will be amazing.
(4) Top it with some pepperoni. Lunchables provides a total of nine pepperoni slices. That’s three per pizza, however, I like to eat at least one or two cold. Also, they are very large and round and three pepperoni slices on one of these small pizzas causes a bit of an overlap. They have been known to sometimes give an extra pepperoni slice, but also one or two less. Sometimes I put the pepperoni before step 2 or 3. I’ve had it in all the possible positions: under the sauce, over the sauce and over the cheese.
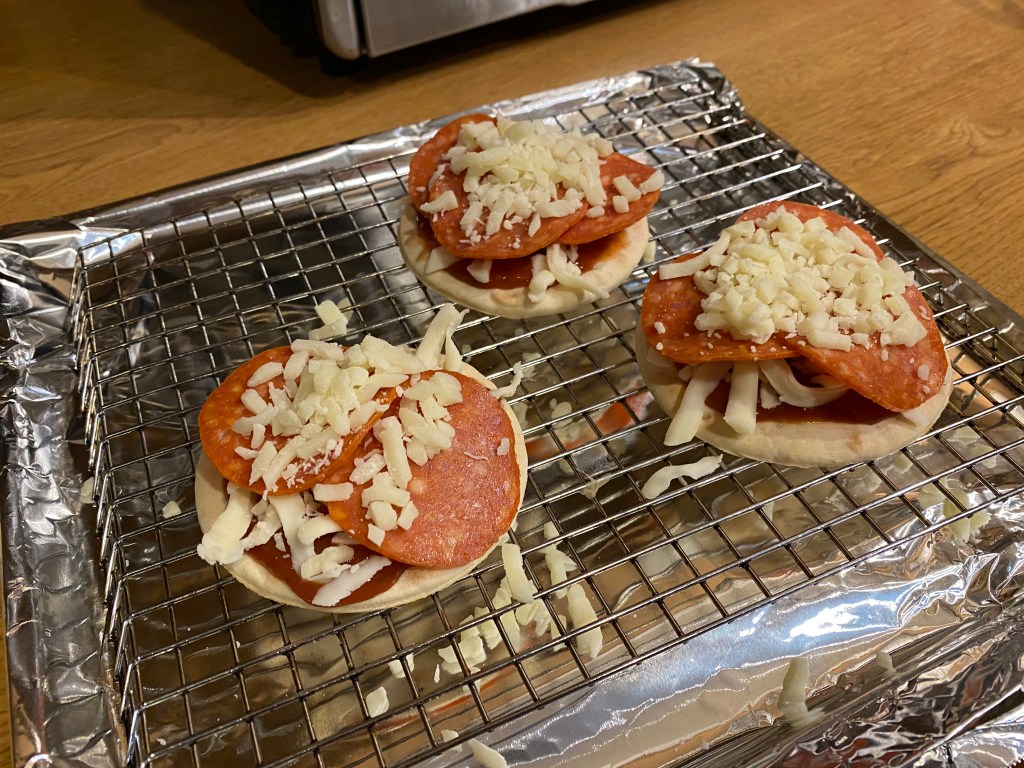
(5) Sprinkle on that Lunchables cheese. Now that you have all of your ingredients stacked you must be thinking, What about this Oscar Mayer provided cheese? Now’s the time to use it. Sprinkle as much or as little as you want on top of your pizza and you’re ready to stick it in the toaster oven.
STEP THREE: HEAT THE PIZZAS

I like to turn the toaster oven up to somewhere between 350 and 400 degrees for these bad boys. I leave them in until the good cheese and top cheese gets melty. I’d say somewhere between 7-10 minutes.
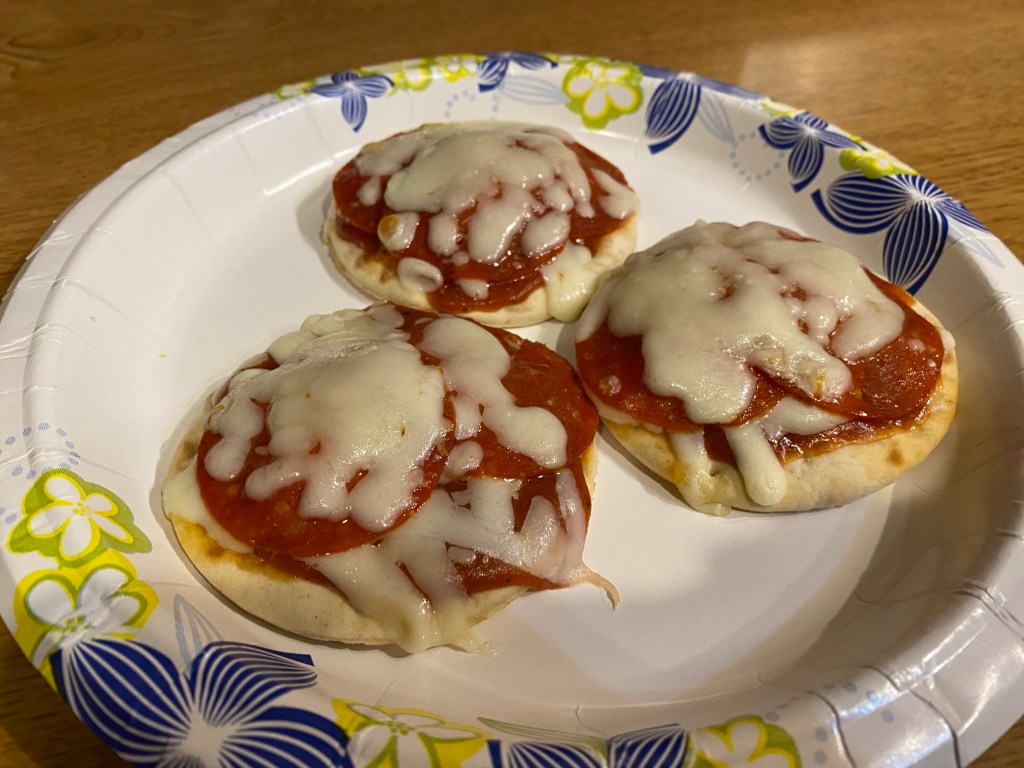
STEP FOUR: ENJOY YOUR GOURMET LUNCHABLES PIZZA
There you have it, now you’re done and it’s time to enjoy your three tiny delicious hot pies. If you don’t want to go through all of this trouble you can always eat it cold, and still try subbing in some “good” cheese. Also, you can always order some pizza from a real pizza place and enjoy that instead. I think of these as the perfect snack for when you’re craving some pizza but don’t want to order a whole pizza, because you know you will finish the whole thing and feel ashamed of yourself afterward.
I hope you do try to upgrade your Lunchables next time, and if you do please tell me how it went below in the comments. If you have any upgrades or hot tips for any type of Lunchables, I would also like to hear those.

Yassss. Well I’ve used microwave for many years. Sadly only tonight I thought of the toaster oven I googled it just to be sure and stumbled upon you. Luckily I had fancy cheese already bc I’ve always swapped that out. Thanks for the tips. My toaster oven is almost preheated so here we go. Thanks!!!
LikeLike
Bonus gourmet step: sprinkle on some Penzey’s Frozen Pizza seasoning.
LikeLike